
Krita
Working with index color filter, described here https://krita.org/item/236-last-week-in-krita-week-21, can be confusing. The filter works so slow (in my pc) that getting results just by moving sliders is a waste of time. Some things are good with the tool and some others are hideous. I wanted to work with index colors to get the messy pixely effect and also using live filters to edit anything later (if it’s needed). here are some notes on the tools to avoid future headaches. Above: my result. Used the same layer setup as in the video here https://www.youtube.com/watch?v=v1Z__mSfo8s (whoppix was very kind to share the file). To control a little better the output. I worked in gray scale all the way and used 4 main groups. Background, Clothes, Skin, Hair. The idea at first was to use a different colour on each section and a slightly different dithering effect on each.
Layer Stack description (As in source file)
Set a group for each dithered object you need. each group act as an isolation environment so its possible to get different colors and dithering patterns on different elements in canvas.
- Top layer: Dithered filter
– Ramps: Brigth 3 colors, Light, base and Dark 1 color each
– Diagonal Grafients ON
– Gradient steps: 3 / L 4 / B 5 / Shadow 5
– Limit to: Indexing factors ( move at will)
-Alpha steps 1 - Group Layer: Dither layers (Op: 16%)
Grayscale texture dither patterns - Paint layer. This is the where the object is made.
On Dither patterns and textures
Layer must have opacity lower than 20 to add the effect without interfering with the painting itself. If it is too high the pattern will become the painting instead of just dithering the gradients. You can use any data as dithering patterns. I only tested grayscale layers and different types of layer content. From what I can observe:
- Sharp pixel shape patterns with different gray values work best
- Its possible to use krita painting brush patterns to add dither, results are more or less nice. (Used on the background)
- Add any image texture and tweak values to make nice dither. This came come from a photo or a painting. Krita grayscale patterns enter this category
- Use a brush engine to generate Texture. this is trickier since you need to generate an organic pattern for it to look good. (Ramon miranda’s hairy brush set works extremely well for this.)
Brush engines tested and settings
Shape dynamics, Random size?
Paint mode BuildUp, (Wash with Random Opacity in “Color options” doesn’t seem to work)
I ended up using Turning off: Spray Shape and setting the brush set tip to 1px, more or less.
Hair brush: Very Good, just lower opacity to control texture amount
Speed problems?
Controlling color output
- Removing all swatches and leaving base will create a cut out shape with the color selected.
- Add then a light tone for getting gradient variations. The colors are not exactly the ones you picked, but very close
- You can use second and third rows, jumping wrows will make a strong gradient effect. however use with care as activating them might cause unwanted color shifting.
- Color value is everything. Add a Bright tone with very dark value and you will affect the dark tones. Add light value to Dark column and highlight will get colored, despite being in the dark column. Not sure if this is a bug but, use this to your advantage to fine tune dark tones a little bit in the end.
- Because of the former point, have some order, using values from light to dark, top to bottom.
- Activate diagonal gradients to use any column and get mostly the same effect as if you were using only one column. I have to investigate this further as the option might imply some other things.
Adding screenshots showing color mixing variations.


Conclusions
The results from this technique are strongly dependant on your value mastering and for more aesthetically appealing picture you have to prepare a nice set of patters and use them with care. Failing to do so will result in a muddy picture with no volume and zero flow on forms. Very difficult indeed to get. My pictures ire nowhere near that level. Finally, while the results are satisfactory I still need to master the coloring mistery for selecting the exact colors I want. I could help to set a gradient inside the affected area to help selecting the color ramps. In the end I had to use level and color balance to get a brighter look on the first image.
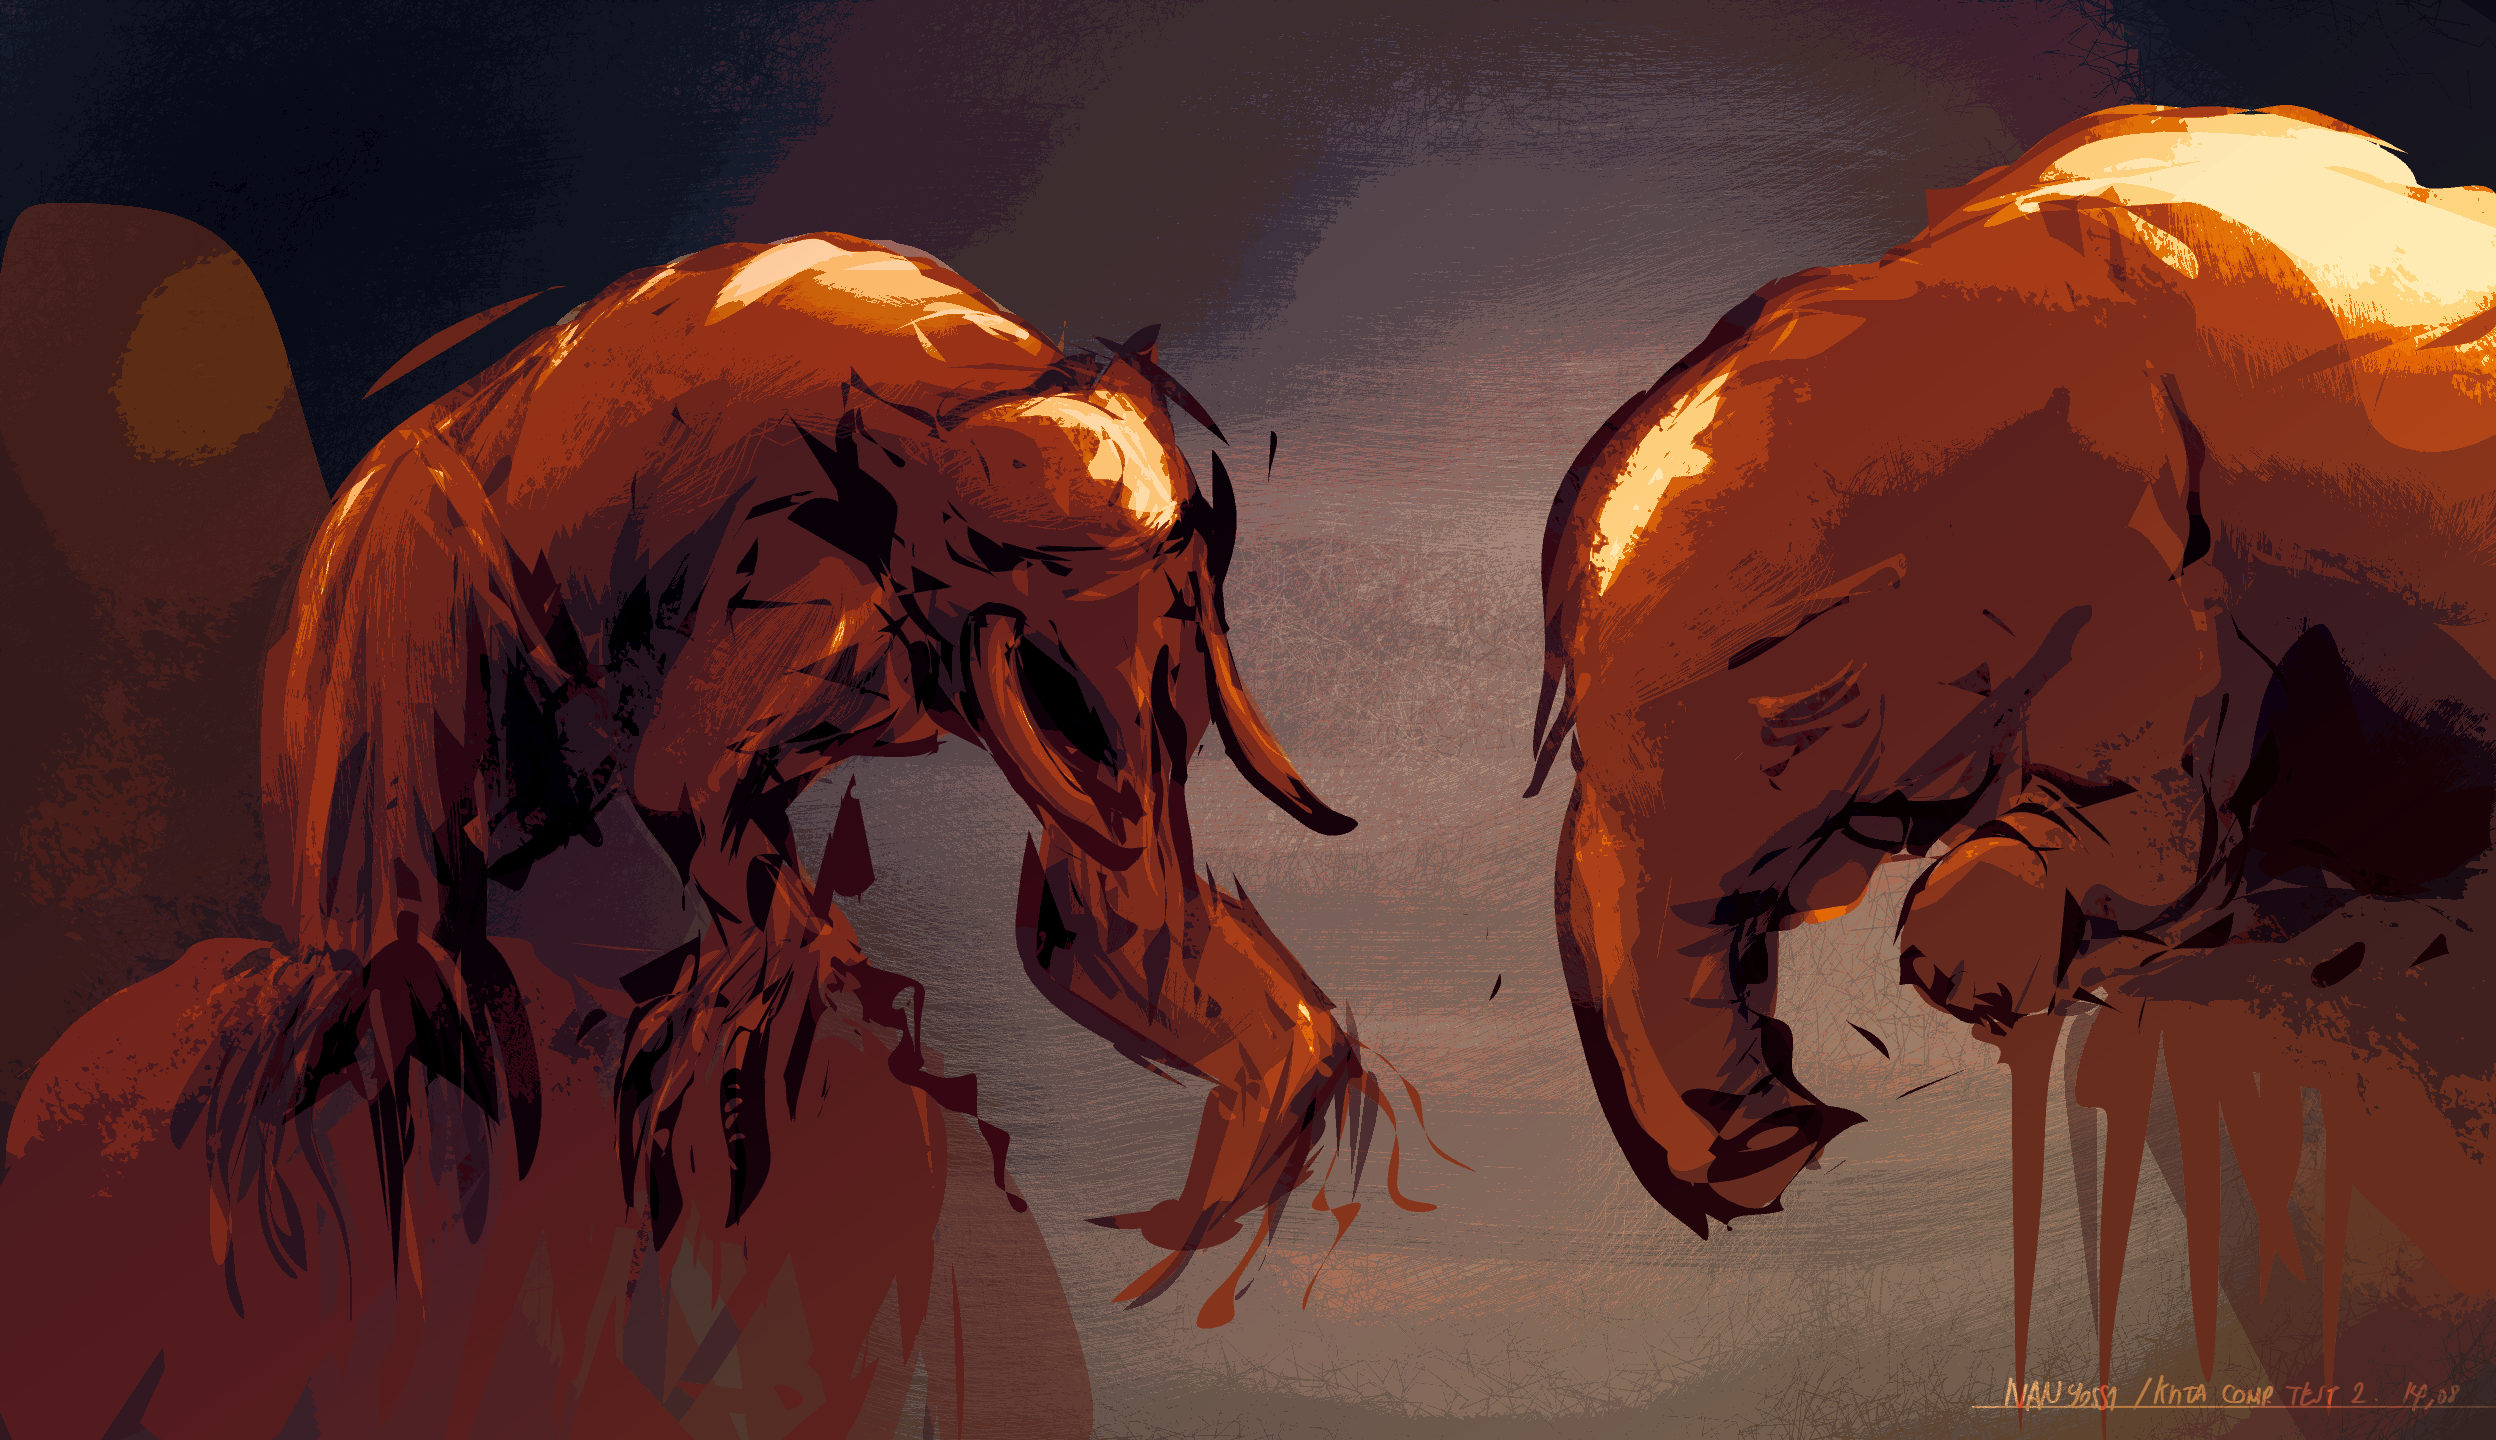
Second image was better controlled in respect to color setting in the filter. I started working on it with the experimental brush to focus only on hard shapes. Abusing Krita layers ystem I worked as with the red marker and light yellow for the background, cloned the resulting group layers. Added those clones to the indexed layer and toyed with the index filtering colors.
Get the Source files
- Space girl (On google drive): https://drive.google.com/file/d/0B5HUTZG6uL8iMm4xbjk2alBQa2M/edit?usp=sharing
- Creatures (On google drive): https://drive.google.com/file/d/0B5HUTZG6uL8ickdpYXZibFFNSms/edit?usp=sharing
